A successful radiant installation starts with design
Considerations for radiant design, equipment selection and installation.
By Bo DeAngelo
Three key factors usually determine the success of any radiant project installation.
- Design;
- Equipment selection; and
- Site preparation.
A good radiant design will drive the success of the project. It’s about more than finding a spot on a drawing to rough in where the tubing will go. The first step is understanding what the system is being designed to do. The second step is to determine how the system will be installed. The final step is to have the proper installation processes, techniques, and equipment to ensure the system works correctly and your customer is happy.
Design
Let’s first look at what the radiant system is intended to do. Is this a heating project, snow melting, or is it part of another building system like frost protection? For a radiant installation to succeed, we must understand how it should perform based on its intended use. We also need to understand many aspects of the project, including insulation requirements, building owner expectations, zoning strategy, wet or dry-mass system, floor coverings, finishes, and so on. The system’s overall design should be built around these many factors so we build a system that performs. The system must also comply with local building code.
Figure 1

DeAngelo residence: Radiant residential design.
Figure 2
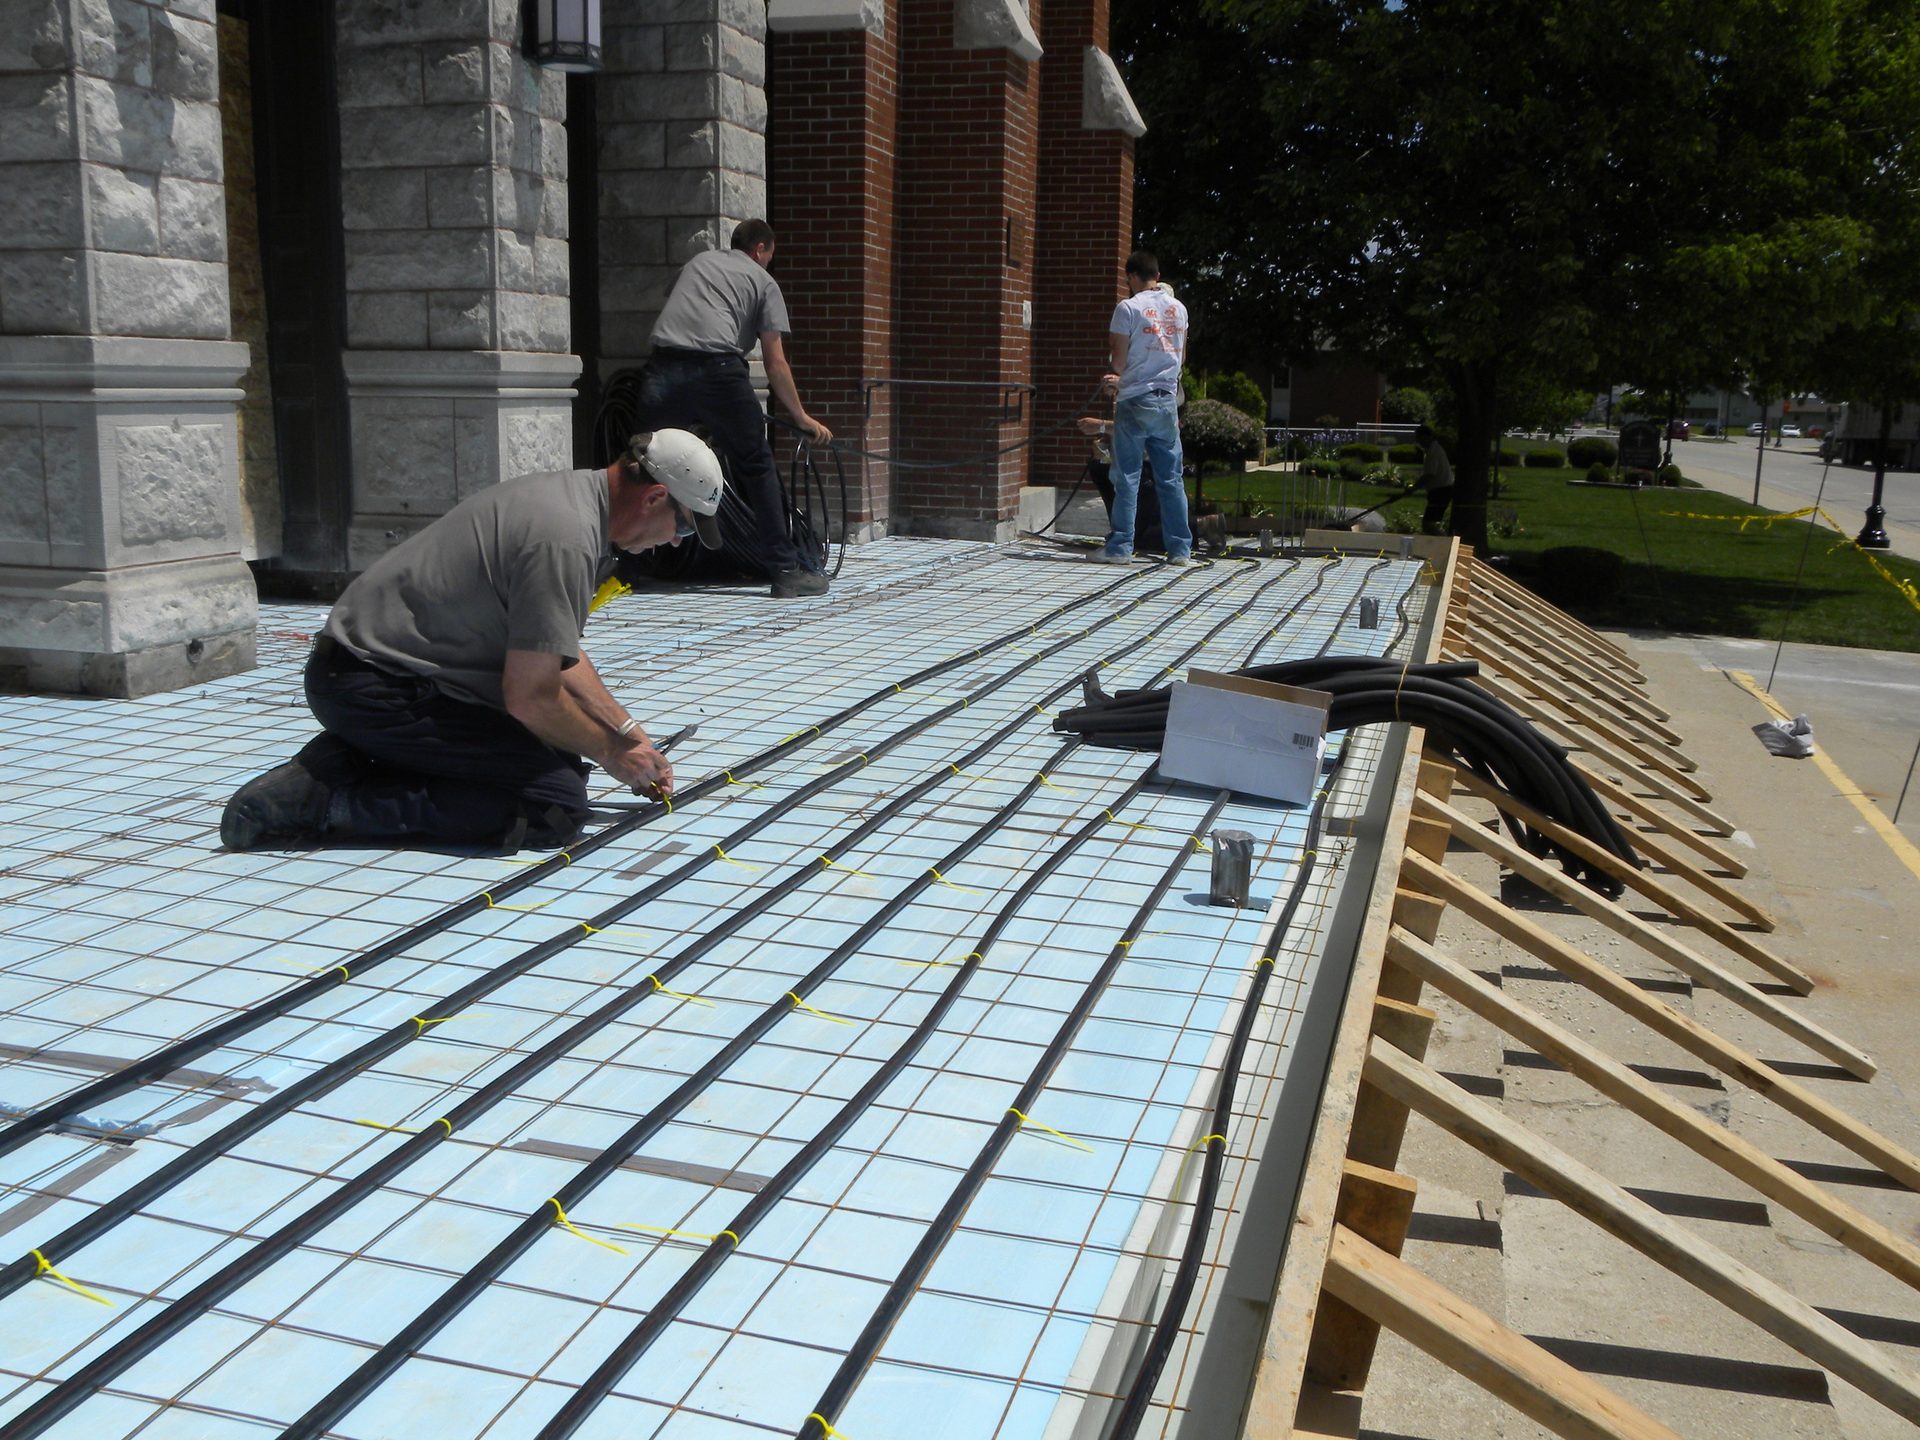
Commercial snow-melting design.
Once we’ve completed a thorough design, we'll know what we’re going to need to build the system.
- What equipment is needed?
- Where are the various system components going to be placed?
- How (and when) will the system be installed?
Equipment location
Manifold placement should be determined early in the design process for all radiant projects. Many other systems will be installed on the site simultaneously or in succession. For us to have a smooth and flawless radiant installation, the manifolds need to be placed and ready to have tubing connected to them before the tubing is installed. This demands thorough construction coordination. This coordination extends to the distribution piping that will connect to the various manifolds in the system and other components, such as control valves and actuators. Coordination will also ensure that future system maintenance is economical and repeatable for the system owner.
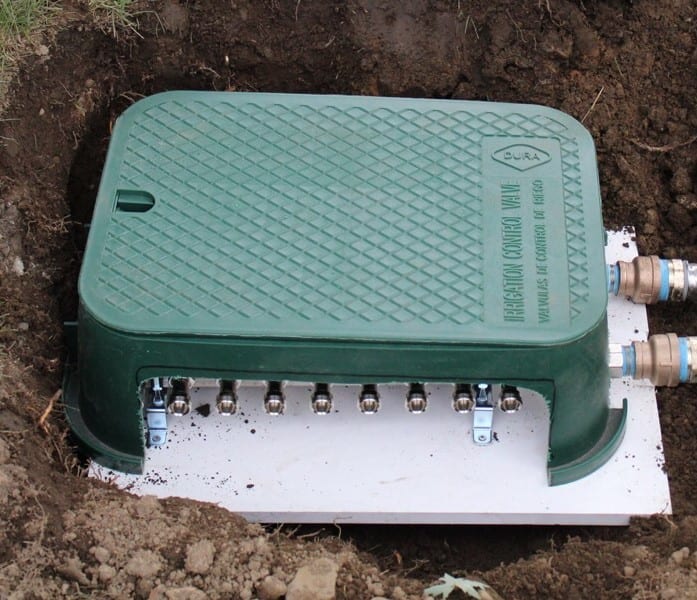
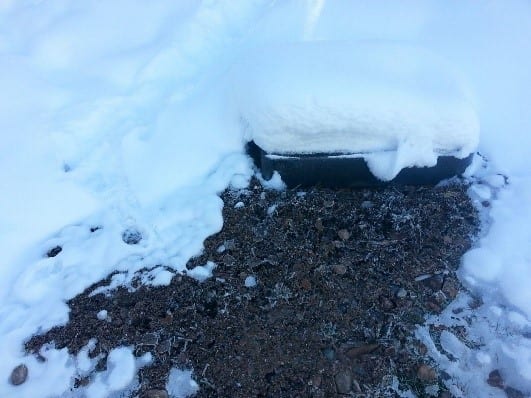
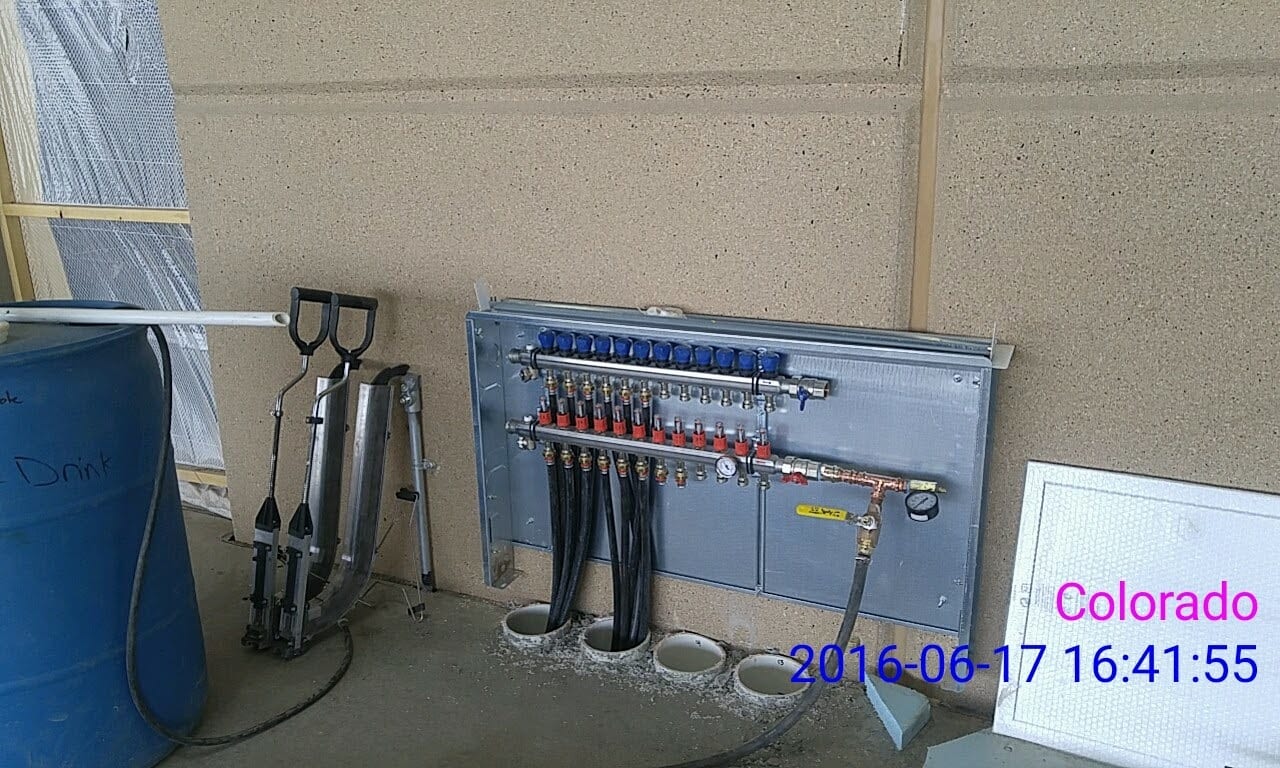
The manifold is sitting on a piece of insulation but the box itself has no way of providing insulation
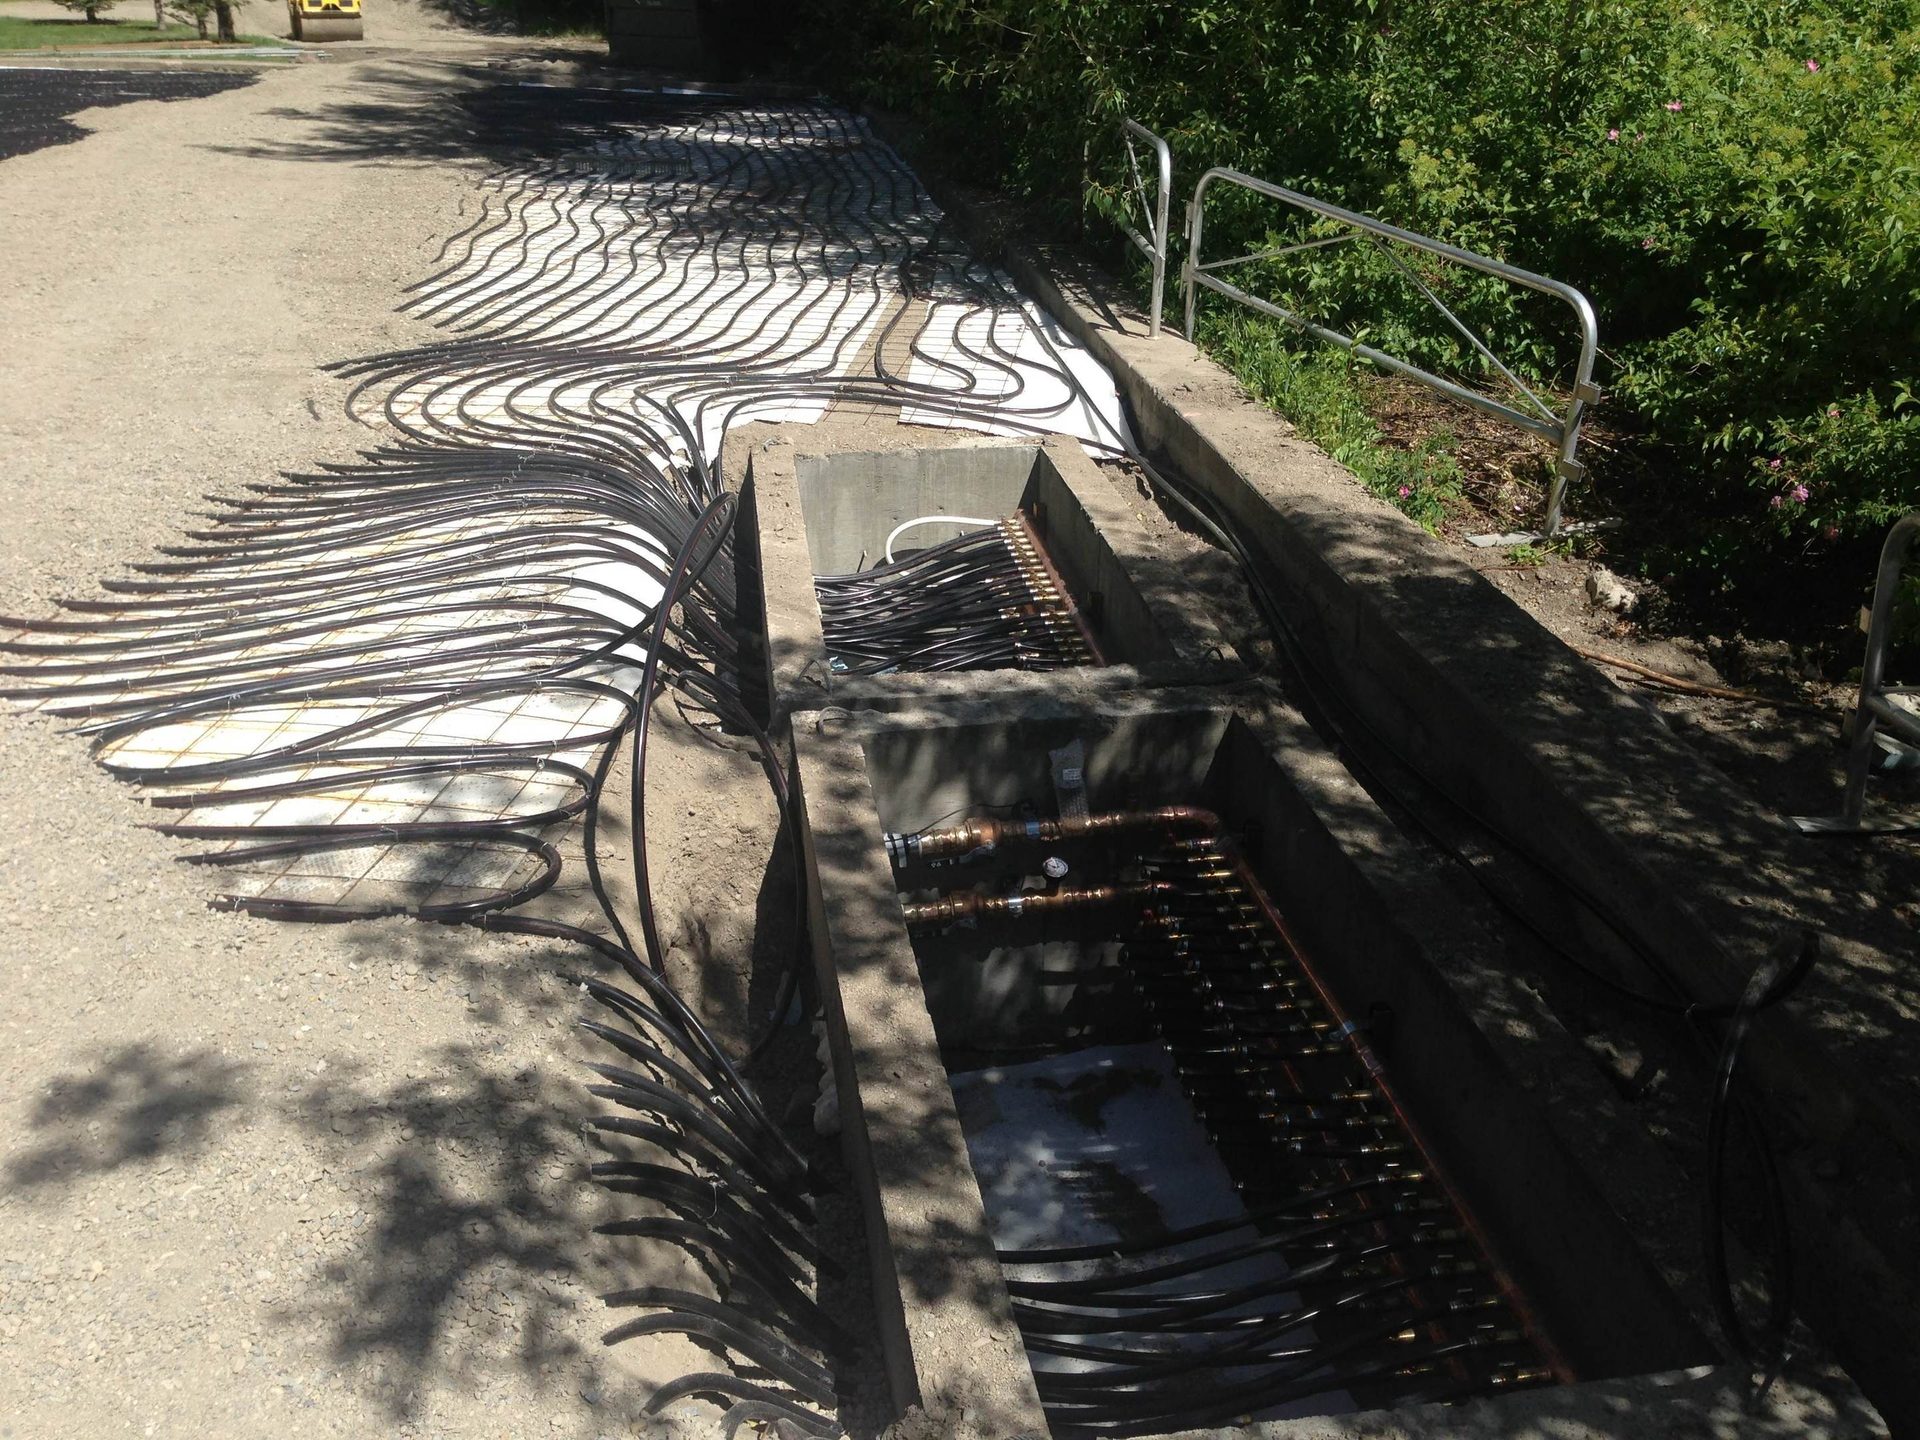
Improper: This concrete vault will collect the water from the snow as it is melted because the ground slopes to the box (the box will fill up with water eventually). Proper: This box can be sealed and waterproofed from every penetration.
It’s also important to consider whether the manifold is placed outside a building. If we place a hydronic manifold in a landscape irrigation zoning box, we're already using the wrong component and setting the system up for failure. The manifold needs to be insulated, waterproofed, and protected from damage on the site.
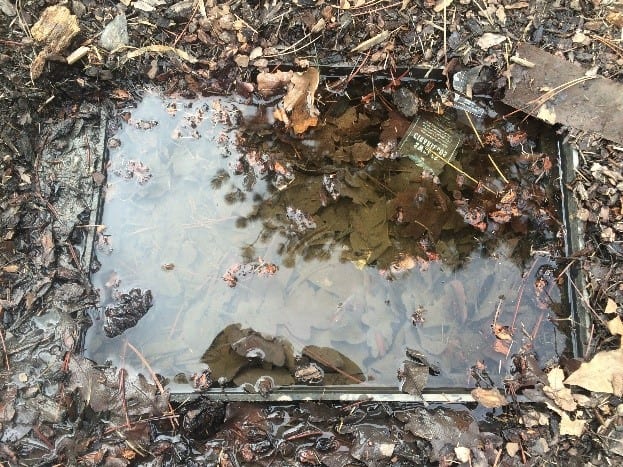
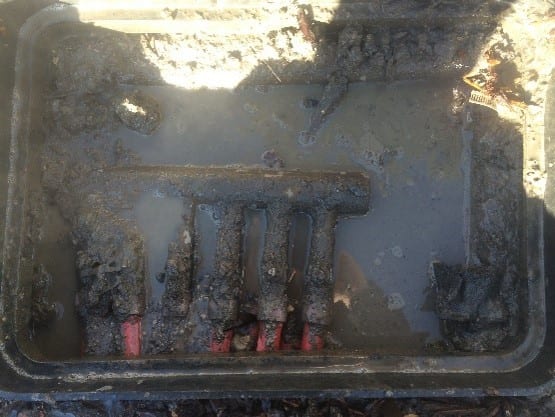
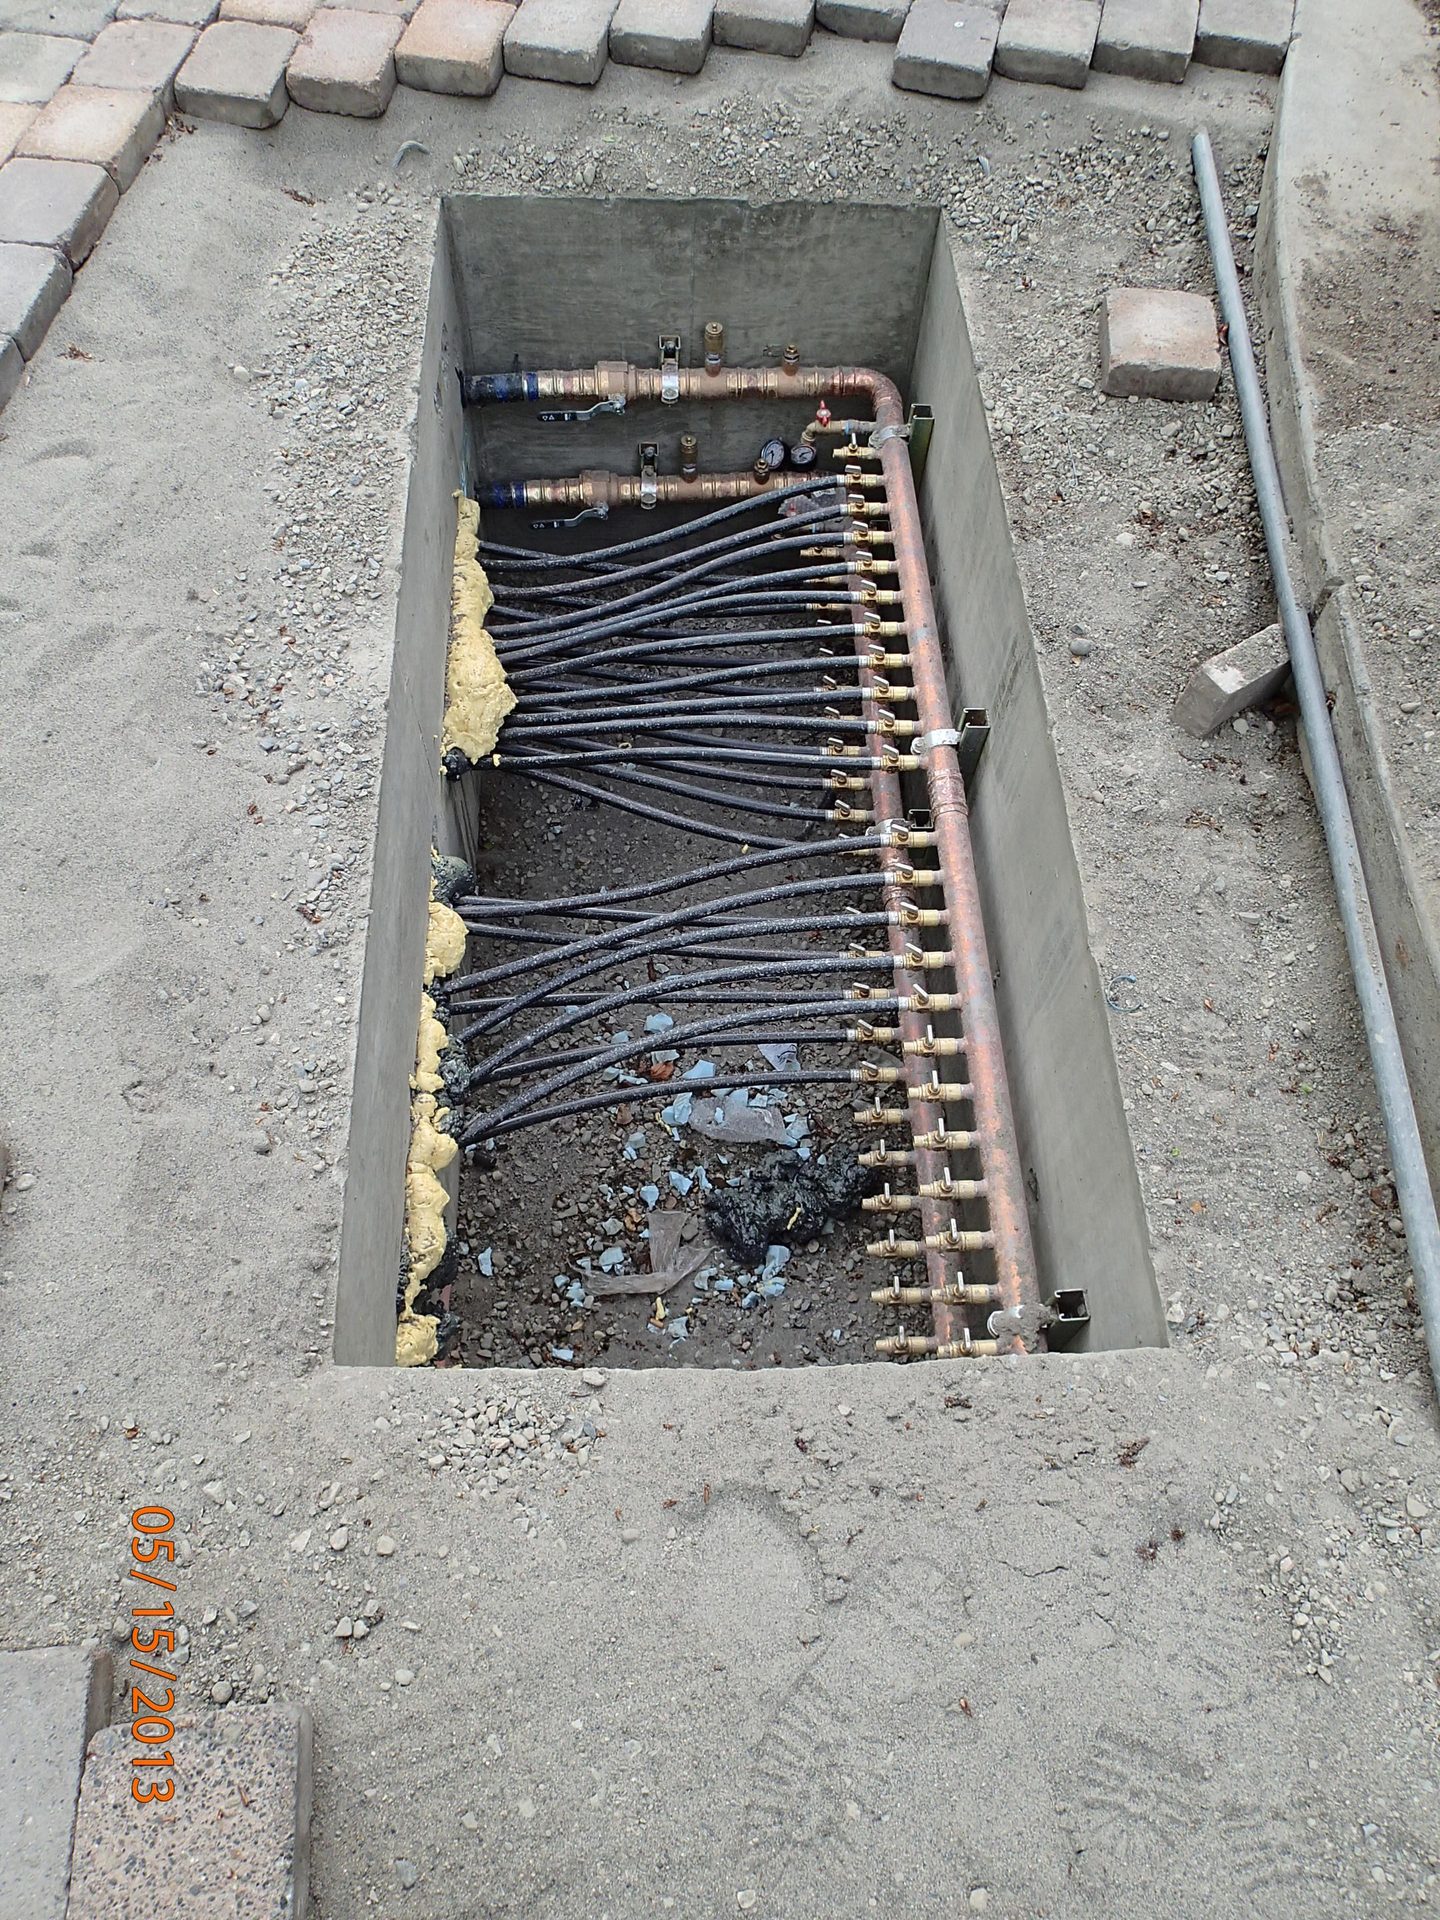
This is the result of un-insulated piping and manifolds, losing heat that was paid for in the form of fossil fuel. Improper: This box was not waterproofed and is collecting groundwater; this system did not work until this issue was fixed. Improper: This view is inside the submerged box after the water was removed.
Designers need to be sure where these components will be located on a project and consider that when producing the final drawing. Installers should be capable and competent at laying out and installing those manifolds in their final location, potentially long before any walls or other building systems are constructed.
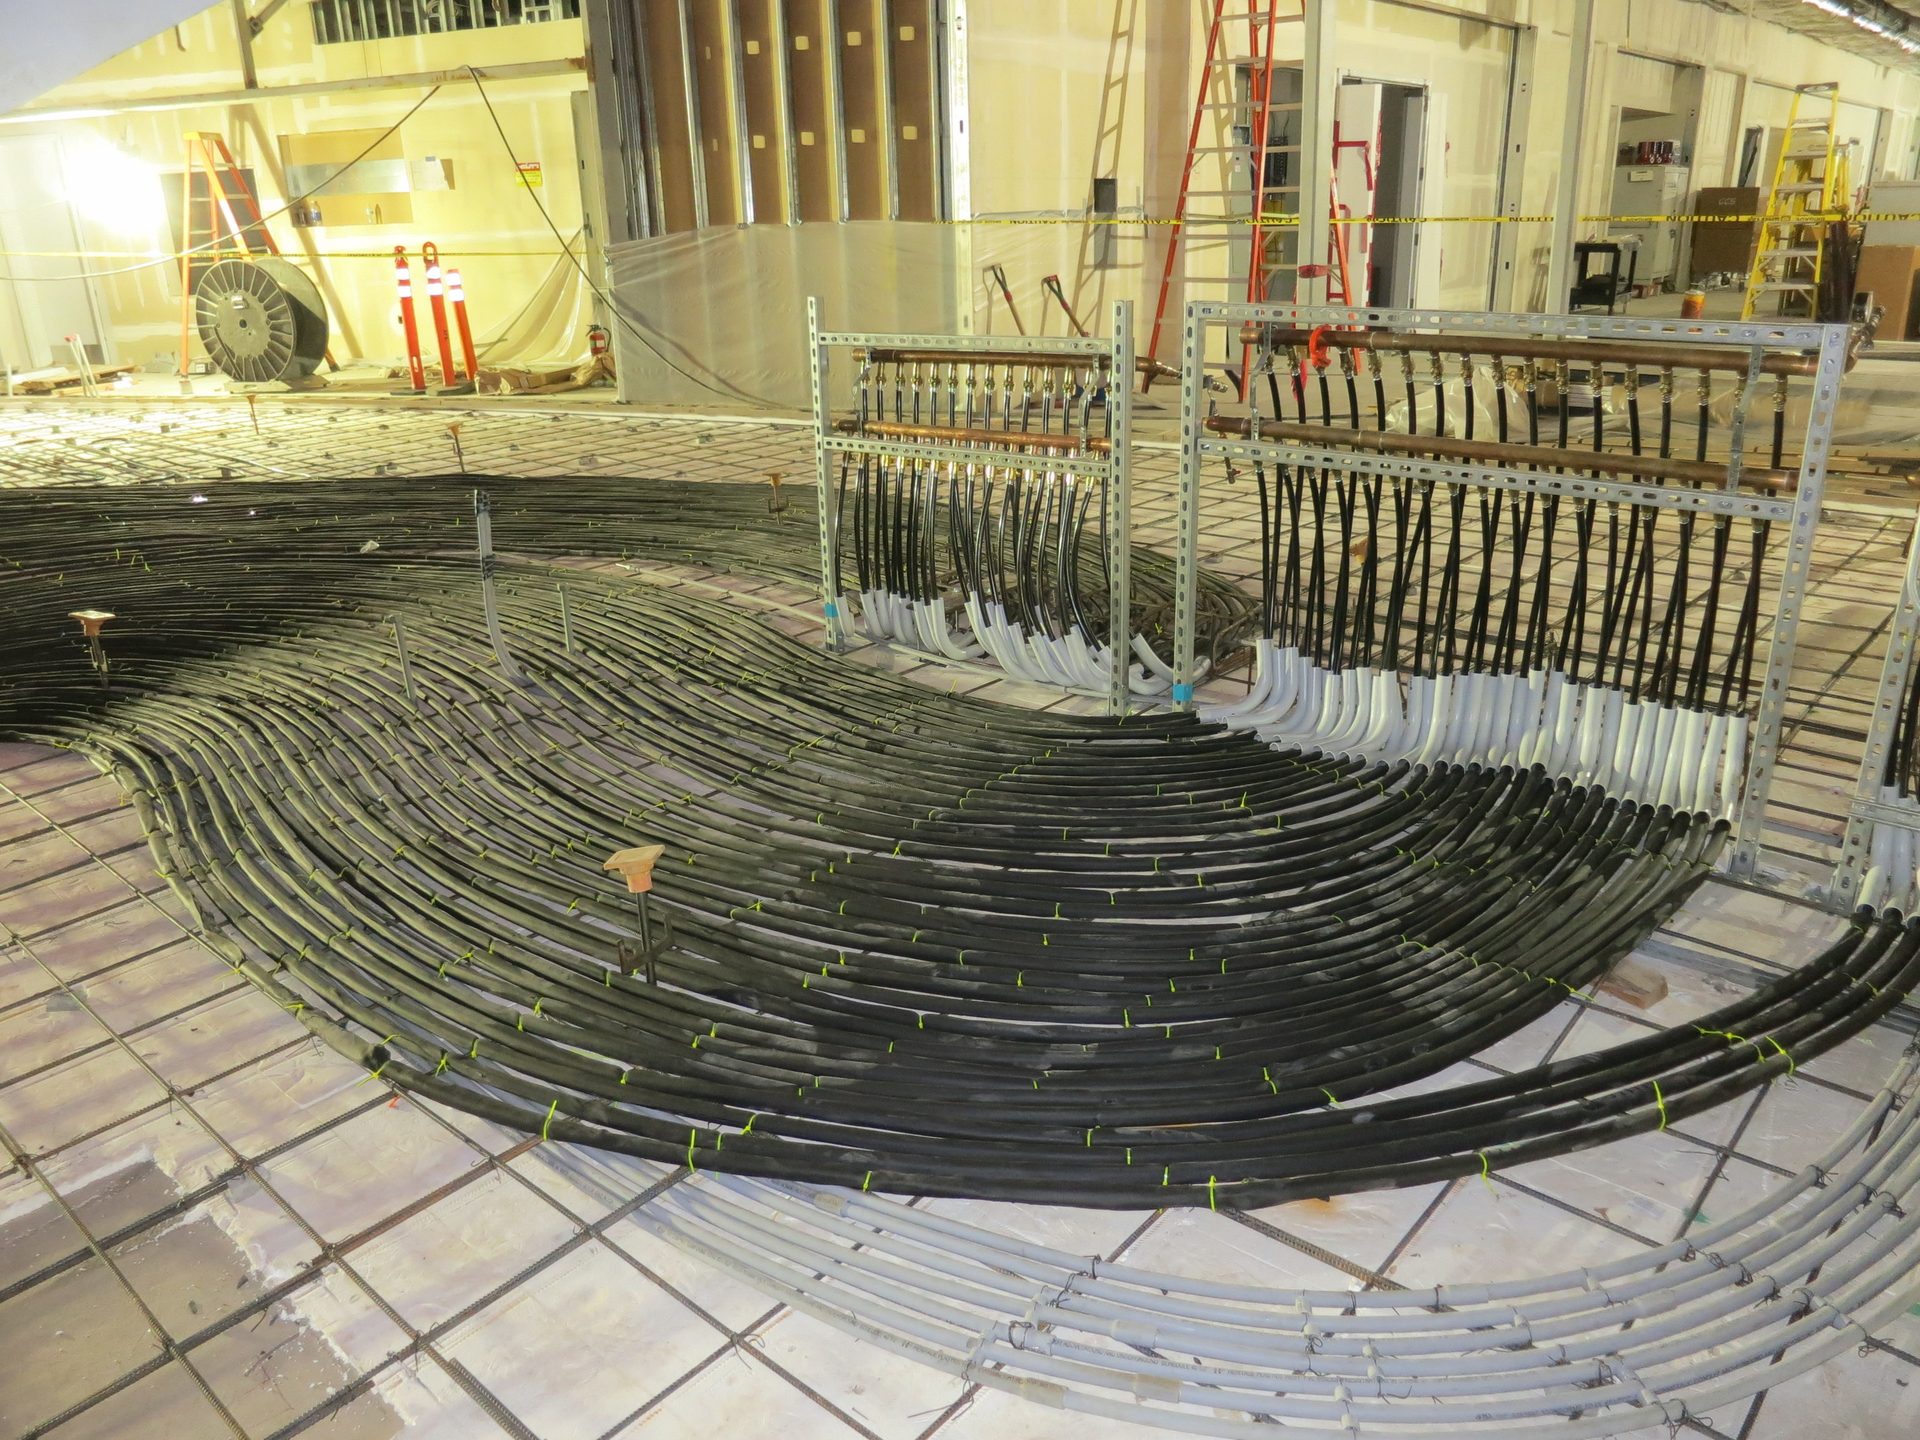
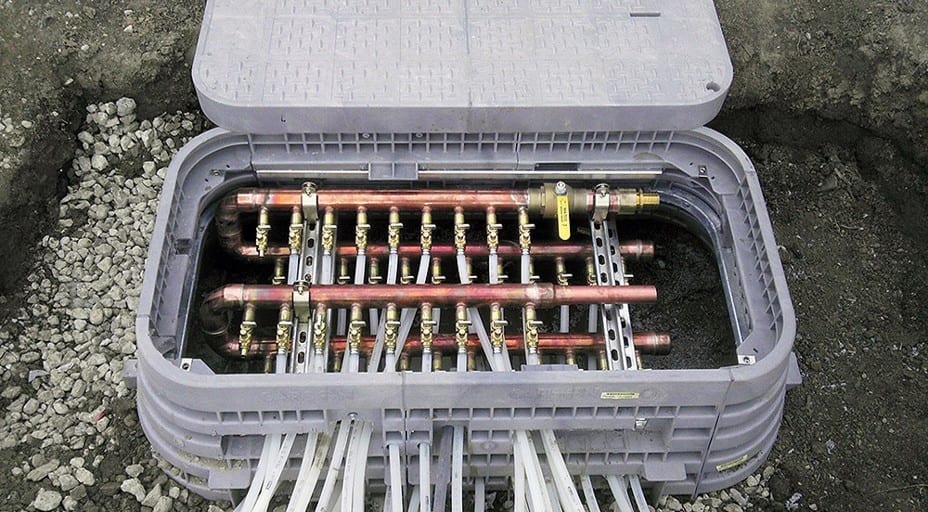
Examples of properly roughed manifolds.
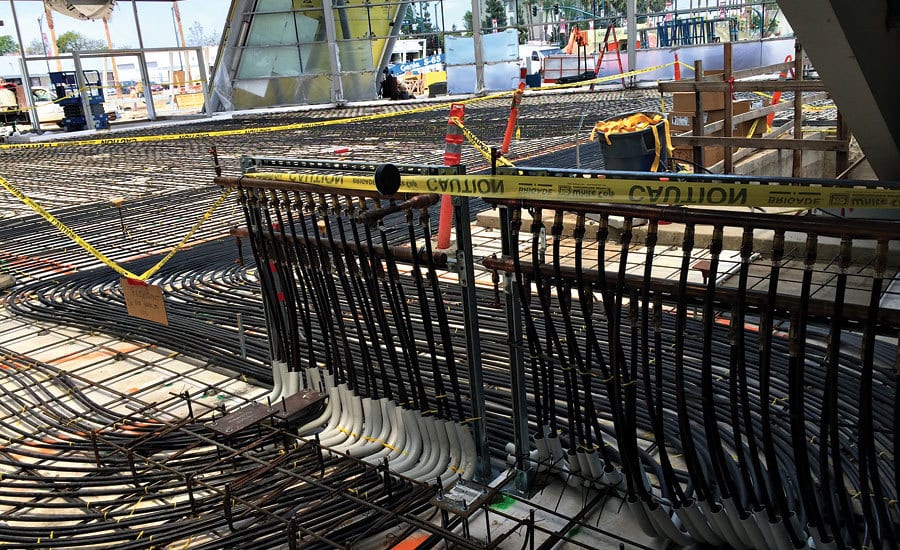
We also need to have a good handle on the method of installation for the radiant panel. If we're installing a concrete system, we need construction detail of where the tubing is placed in the slab and how it is attached. Coordinating with other trades during the installation of any reinforcement and pour is also necessary. Another thing that is often overlooked is manufacturers’ installation instructions for their various components. The project manager, supervisor, and installer are responsible for knowing these requirements. Choose to work with manufacturers that offer training on their products to ensure your success.
The process
We now have a great design; we have all our system components and know where and how they will be installed. The final step is establishing and maintaining a process for successful installation.
It's important to start the project with the right tools for the job. One mistake I often see is attempting to install radiant tubing without a proper decoiler. The coil can easily come unwound or kink during installation. A decoiler should be located as far from your work area as possible but still within sight. The ability to lead out about 20 feet of tubing will make the installation much easier.
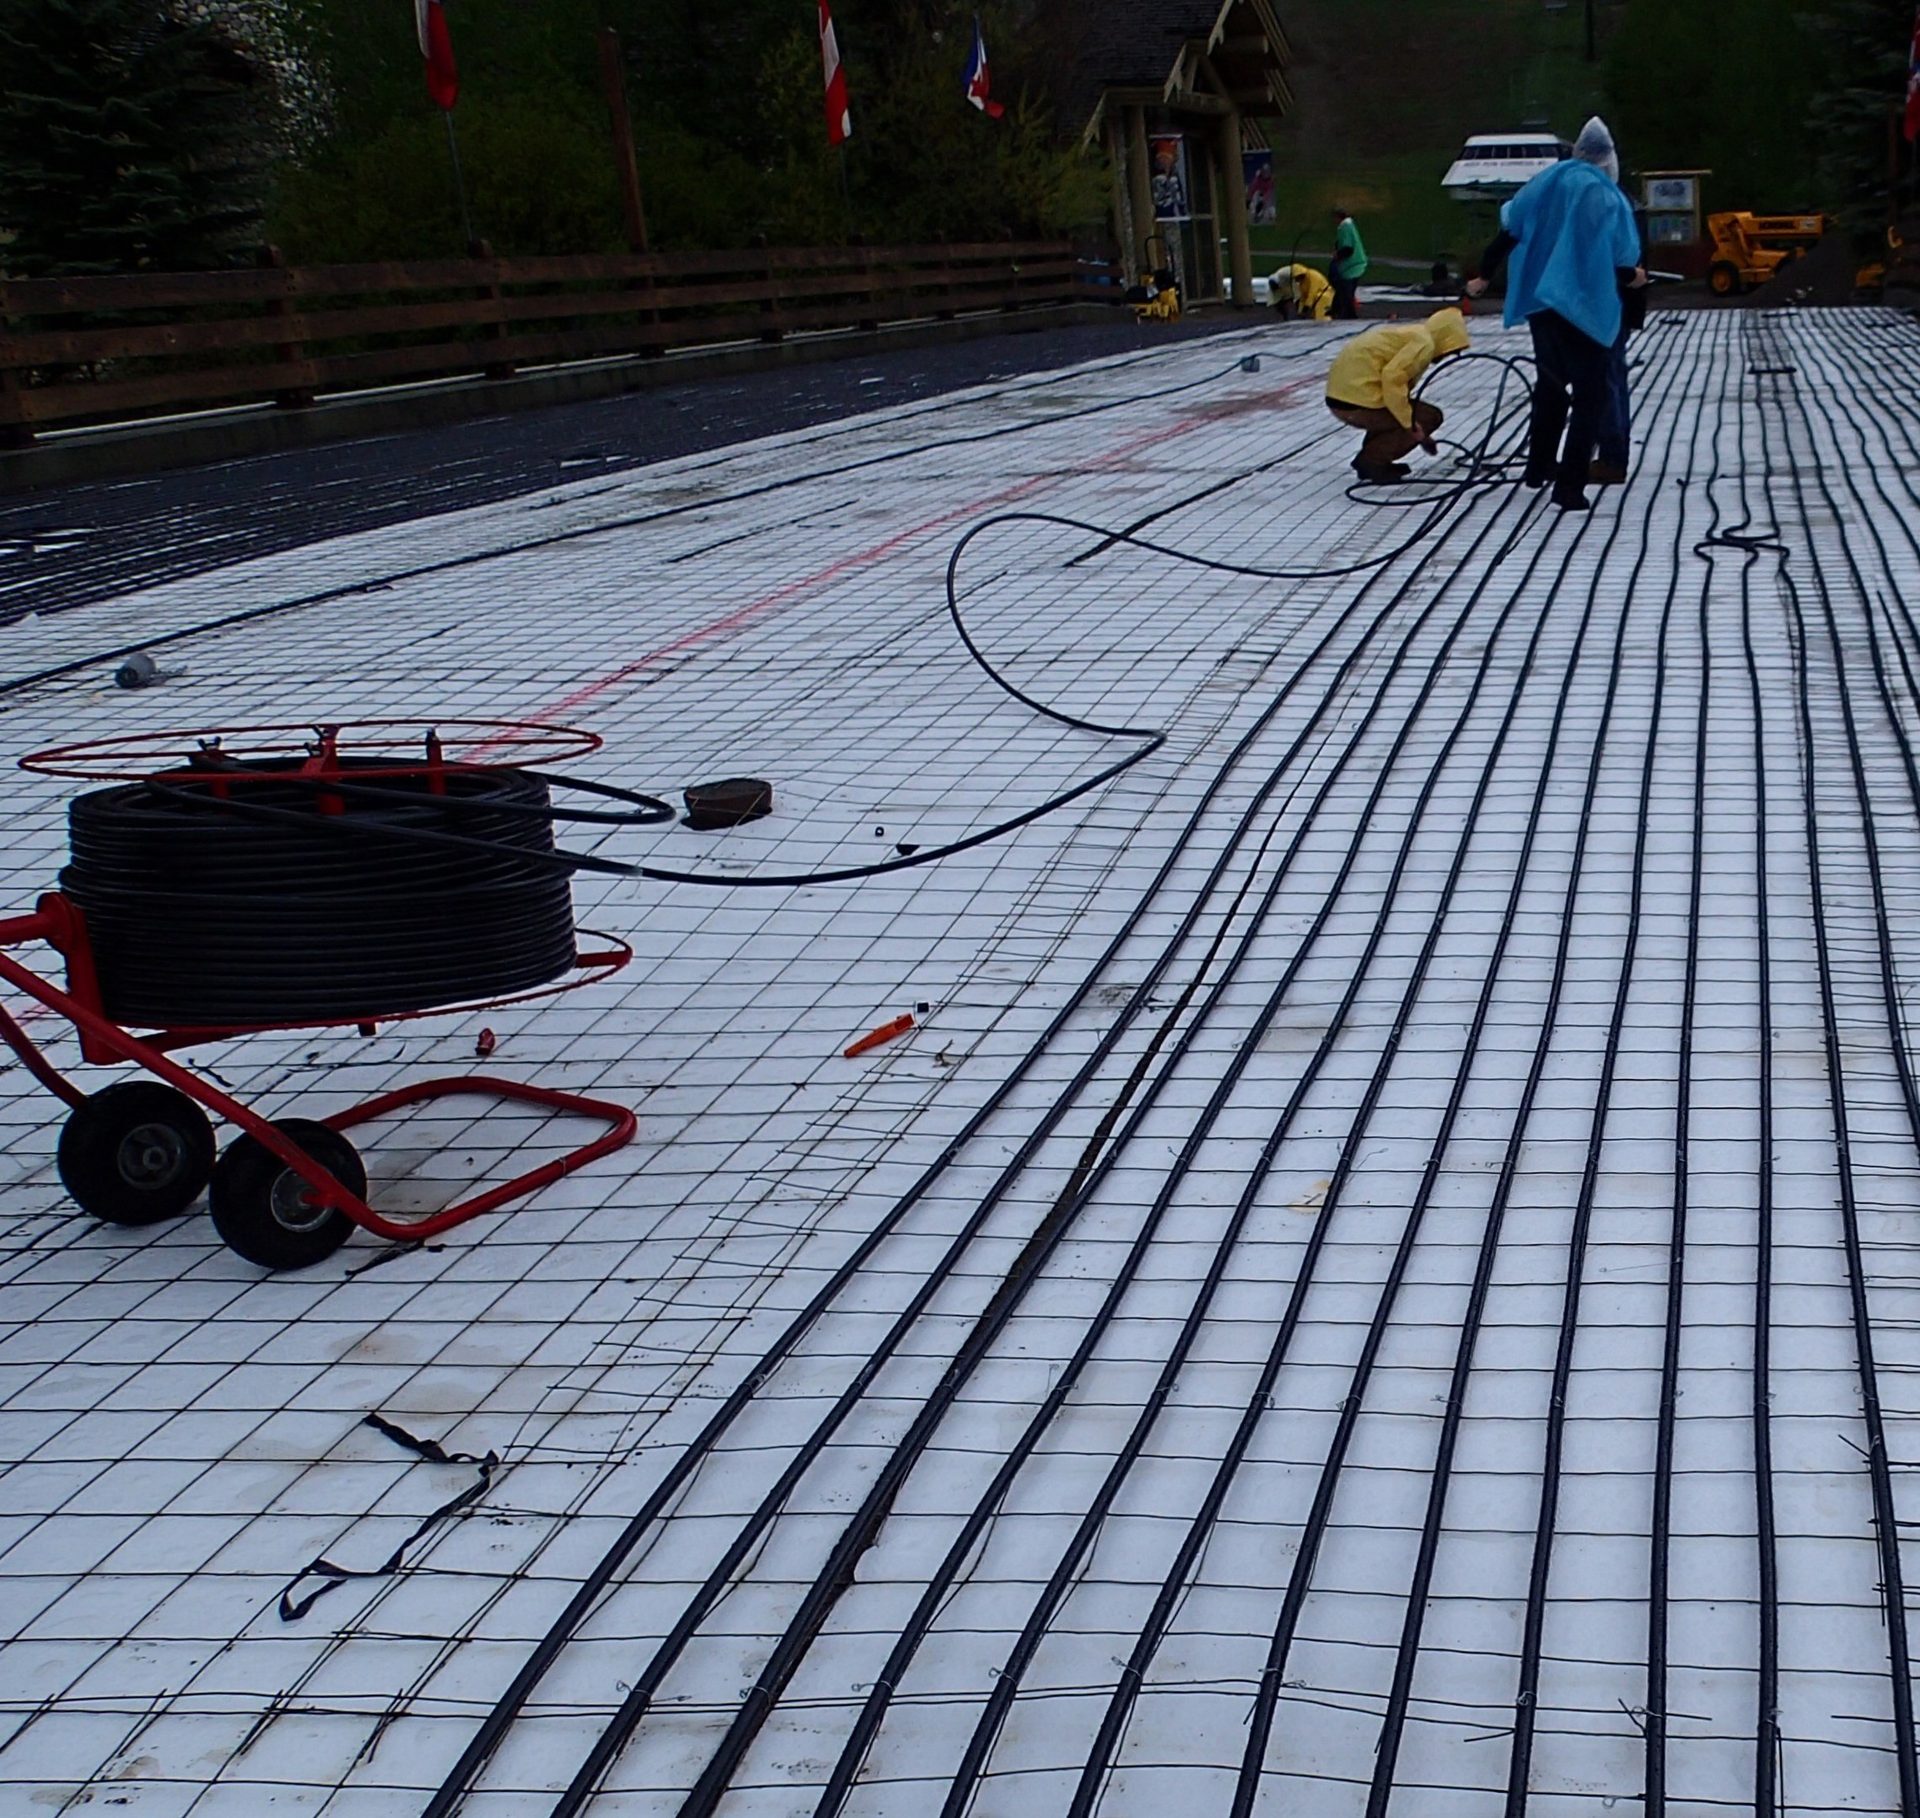
LEFT: A decoiler with 20 foot lead out. This is how a decoiler should be used to install tubing. RIGHT: The installers are working hard and struggling with a heavy roll of tubing. That worker could be installing the tube instead of holding it.
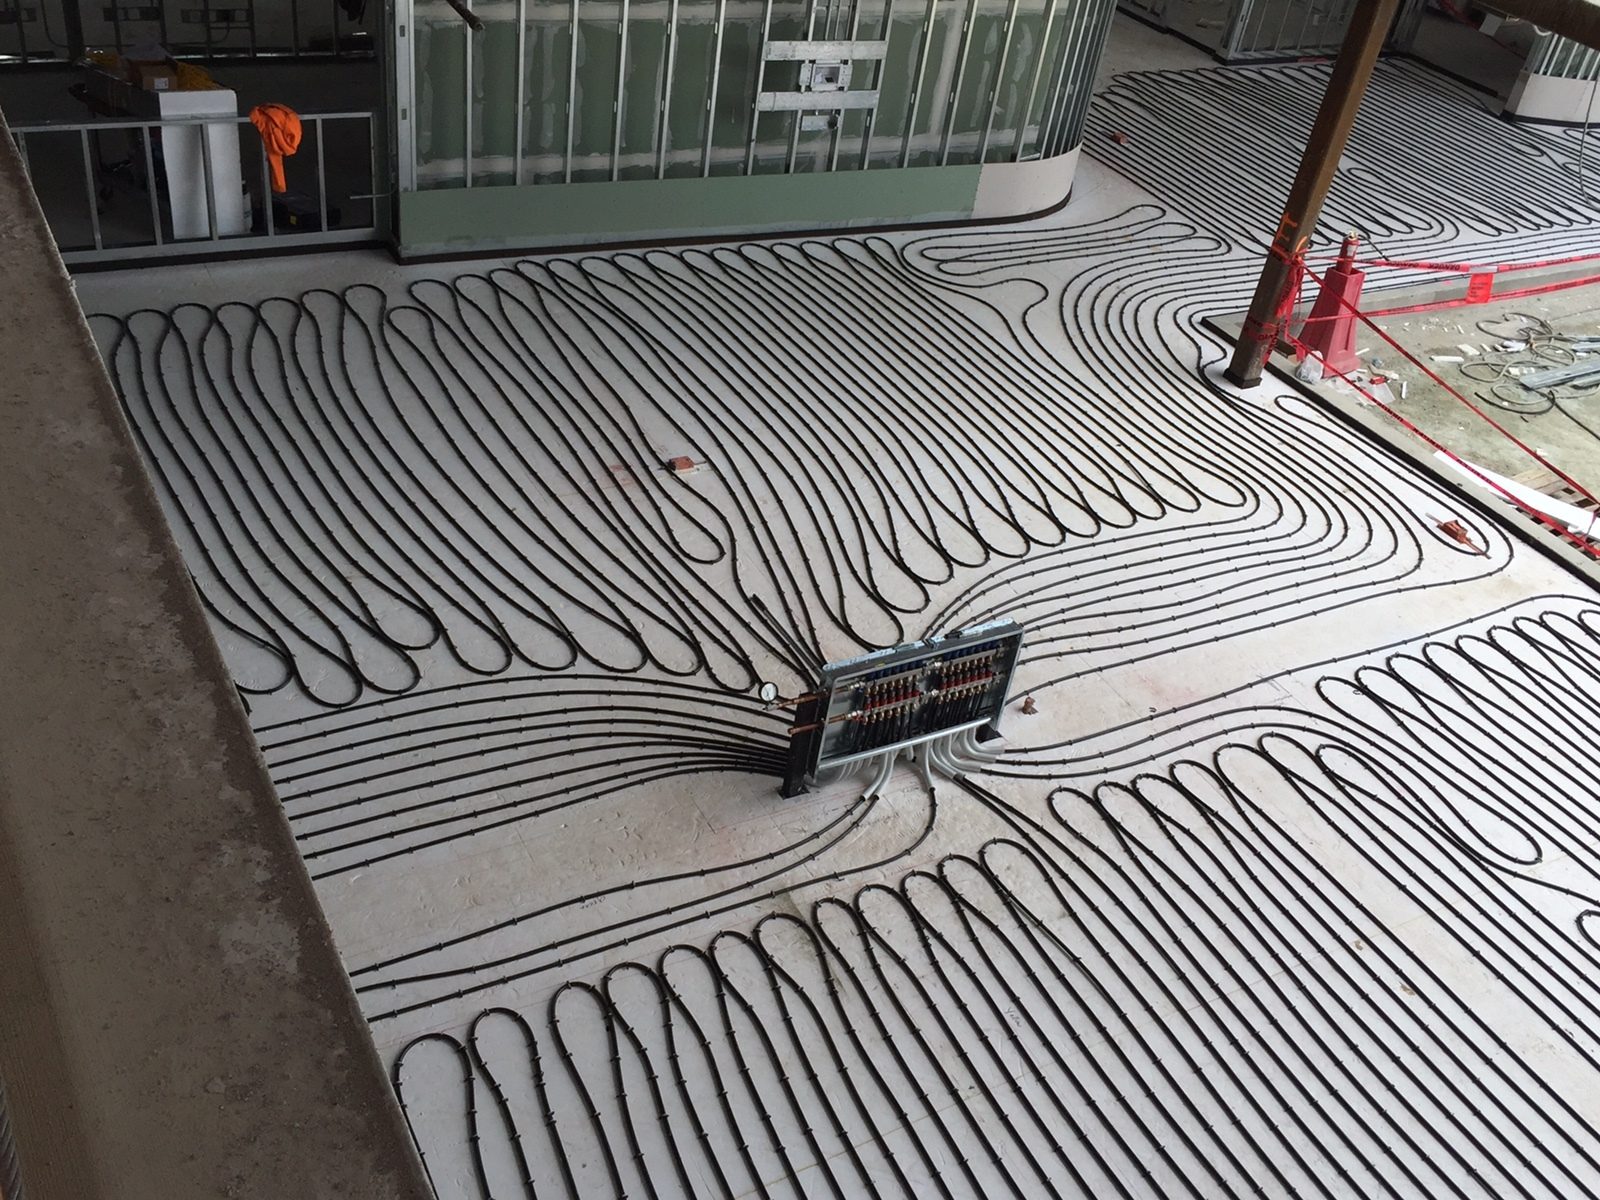
During installation, the tubing must be attached to a clean surface, free from debris, rocks, pebbles, and any construction material (like screws or nails). Taking the time for a little extra preparation beforehand will ensure success. Managing construction traffic through your installation area will be critical to ensure your system remains undamaged. Coordination is key!
When connecting tubing to the manifold, it is important to have the necessary tools to make the connections and set up the manifold for a final pressure test. This also includes having a method to ensure that your manifold is holding pressure and has no small leaks causing failure of your inspection. The system should remain under test until it’s ready for distribution piping. The system should then be placed back under test until you are ready to fill and commission. This gives you the opportunity to continue to check the system during construction. The manifold should also be protected from damage during the entire construction process.
Maintenance
Radiant systems use PEX tubing, which is very low maintenance — it’s anti-corrosive and durable. The system fluid, however, should be checked periodically. If it’s just water and the system has been built properly, it becomes less corrosive because the oxygen has been used up. The minerals or impurities from the initial fill have settled and ideally been removed via a separator. If you are utilizing propylene glycol solution, you will need to check it periodically. Glycol can break down over time, and it should be checked annually to ensure the pH is balanced and the chemical inhibitors are maintained.
The time you take in design, preparation, and means to protect your system will result in a successful installation worthy of your name that will stand the test of time.
Need help with design? Enlist Viega’s Engineering Services to design your project or consider a radiant design course at one of our seminar centers.
ABOUT THE AUTHOR
Bo DeAngelo is the manager of technical training for Viega.
Photos courtesy of Viega.